When it comes right down to it, SML is a pretty great language. It’s clear that extensive thought has gone into its design and implementation. I quite enjoy programming in SML, due in no small part to my collection of workflow hacks that make editing and developing with SML responsive and interactive.
We’re going to be walking through a couple easy steps to make developing SML feel more fluid. I have a slight preference for Vim (Neovim) on macOS, but many of these steps are platform agnostic.
Note: I updated this post to more accurately reflect my SML dev setup in December 2019.
Installing SML Locally
While developing SML in a remote environment like the shared Andrew Unix machines makes it easy to dive right in, I prefer doing development on my laptop—it doesn’t get slow when there are many people logged in, there’s no nightly reboots, and it doesn’t matter whether I have a strong WiFi connection.
On macOS and Ubuntu, the two most popular implementations of SML are already packaged. Take the time to install a version of SML right now:
At CMU we use SML/NJ, which is convenient because it has a REPL that for playing around with SML interactively.
To play around with releasing programs written in SML to other people, install MLton. It has better support for compiling SML programs to standalone executables which can be shared from one machine to another. (I have a separate post on using SML to release software publically with more details).
# macOS -- one or both of:
brew install smlnj
brew install mlton

# Ubuntu -- one or both of:
sudo apt-get install smlnj
sudo apt-get install mltonFeel free to install both; they’ll play nicely with each other, and each offers advantages over the other.
Note for macOS users: if you’ve never used Homebrew before, you’ll need to install it first.
Note for Ubuntu users: the versions of these two that ship in the default package distribution are frequently out of date. If that matters to you, consider following the the SML/NJ and MLton installation instructions directly.
Getting Comfortable with SML/NJ
The rest of these steps should apply regardless of whether you’re working on SML locally or remotely.
One thing that I’ve seen far too many times from course documentation is that they tell students to run their code like this:
- Run
sml - Type
use "foo.sml";orCM.make "sources.cm";at the REPL
Don’t get me wrong; this works, but there’s a better way. Being responsible CLI-citizens, we should always be looking for ways to tab-complete. We can easily get tab-completion on the filename by changing our workflow:
- Run
sml foo.smlorsml -m sources.cm
Look at that! We’ve,
- dropped a step (having to launch the REPL first), and
- introduced tab completion (because the shell has filename completion)
It’s the little things, but they add up.
Enhancing the REPL
Speaking of the little things, when using the SML REPL, you don’t
have access to all the usual command line niceties like command history
and access to arrow keys for editing, let alone Vi-like keybindings. To
get started, you’ll have to change how you launch the SML/NJ REPL. In
particular, we’re going to preface our commands with
rlwrap:
# instead of this...
$ sml

# use this:
$ rlwrap sml
rlwrap stands for “readline wrap.” Readline is a library
that adds all the features mentioned above to any REPL program:
- Command history tracking (up arrow keys)
- Line editing with arrow keys
- Configuration through the
~/.inputrcfile- We can use this to get fancy features like Vi keybindings
For more information, see these lines of my inputrc, a small part of my dotfiles repo on GitHub.
Setting Up Vim
Programming is so much more enjoyable when you’re not fighting your editor. For me, this means striving to get the most out of Vim. In this section, I’ll outline all the cool tips and tricks I have for developing SML in Vim.
But first, if you’ve never taken a look into how to configure Vim, I suggest you start out by walking through this quick workshop called Vim as an IDE. It’ll teach you where to start when configuring Vim and get you set up with a bunch of standard plugins that improve on the standard Vim experience tenfold.
No actually, take a second and walk through it. We’ll still be here when you’re done, and you’ll appreciate Vim more when you’re done.
ALE
ALE is a Vim plugin that provides what it calls “asynchronous linting.” That’s a fancy way of saying that it can show little red x’s on all the lines that have errors. It works for many languages out of the box, including Standard ML.
It’s super simple to set up. The ALE homepage should have all the instructions.
With ALE set up, try writing this into a file called
test.sml:
While typing, any errors should appear as markers to the left of the line numbers. Super handy!
If nothing shows up, check :ALEInfo which dumps a bunch
of information about whether ALE was set up correctly. In particular,
SML support requires having SML/NJ
installed (i.e., installing it on your laptop or working on a server
where it’s already installed).
Extra ALE Setup
While the default settings for ALE work well enough, there’s plenty of reasons to tweak them. For example, here are all my ALE settings.
The key changes I make:
- I ask ALE to show a list of all errors if there were any.
- I ask ALE to only run when the file was saved (not when it was opened or edited).
(You’ll also see a bunch of settings for other languages, but you won’t find any SML-specific config… it’s not needed!)
Also, a tip for those who’ve never used Vim’s location list: you can
close the list of errors with :lclose.
Using ALE with CM files
Sometimes a single SML file is self-contained enough to type check on
it’s own. But most of the time, we’re working with multi-file SML
projects. With SML/NJ, multi-file SML projects are managed using CM
files (*.cm files) which declare groups of SML files that
must be compiled together to make sense.
ALE’s support for SML handles both of these scenarios. When opening
an SML file, ALE will search up the folder hierarchy for any
*.cm file, stopping when it finds the first one. When there
are multiple in a single folder, it takes the alphabetically first
option.
Usually this works fine but sometimes ALE picks the wrong one. There are instructions for how to manually fix this by setting some variables in the ALE help:
:help ale-sml-optionsvim-better-sml
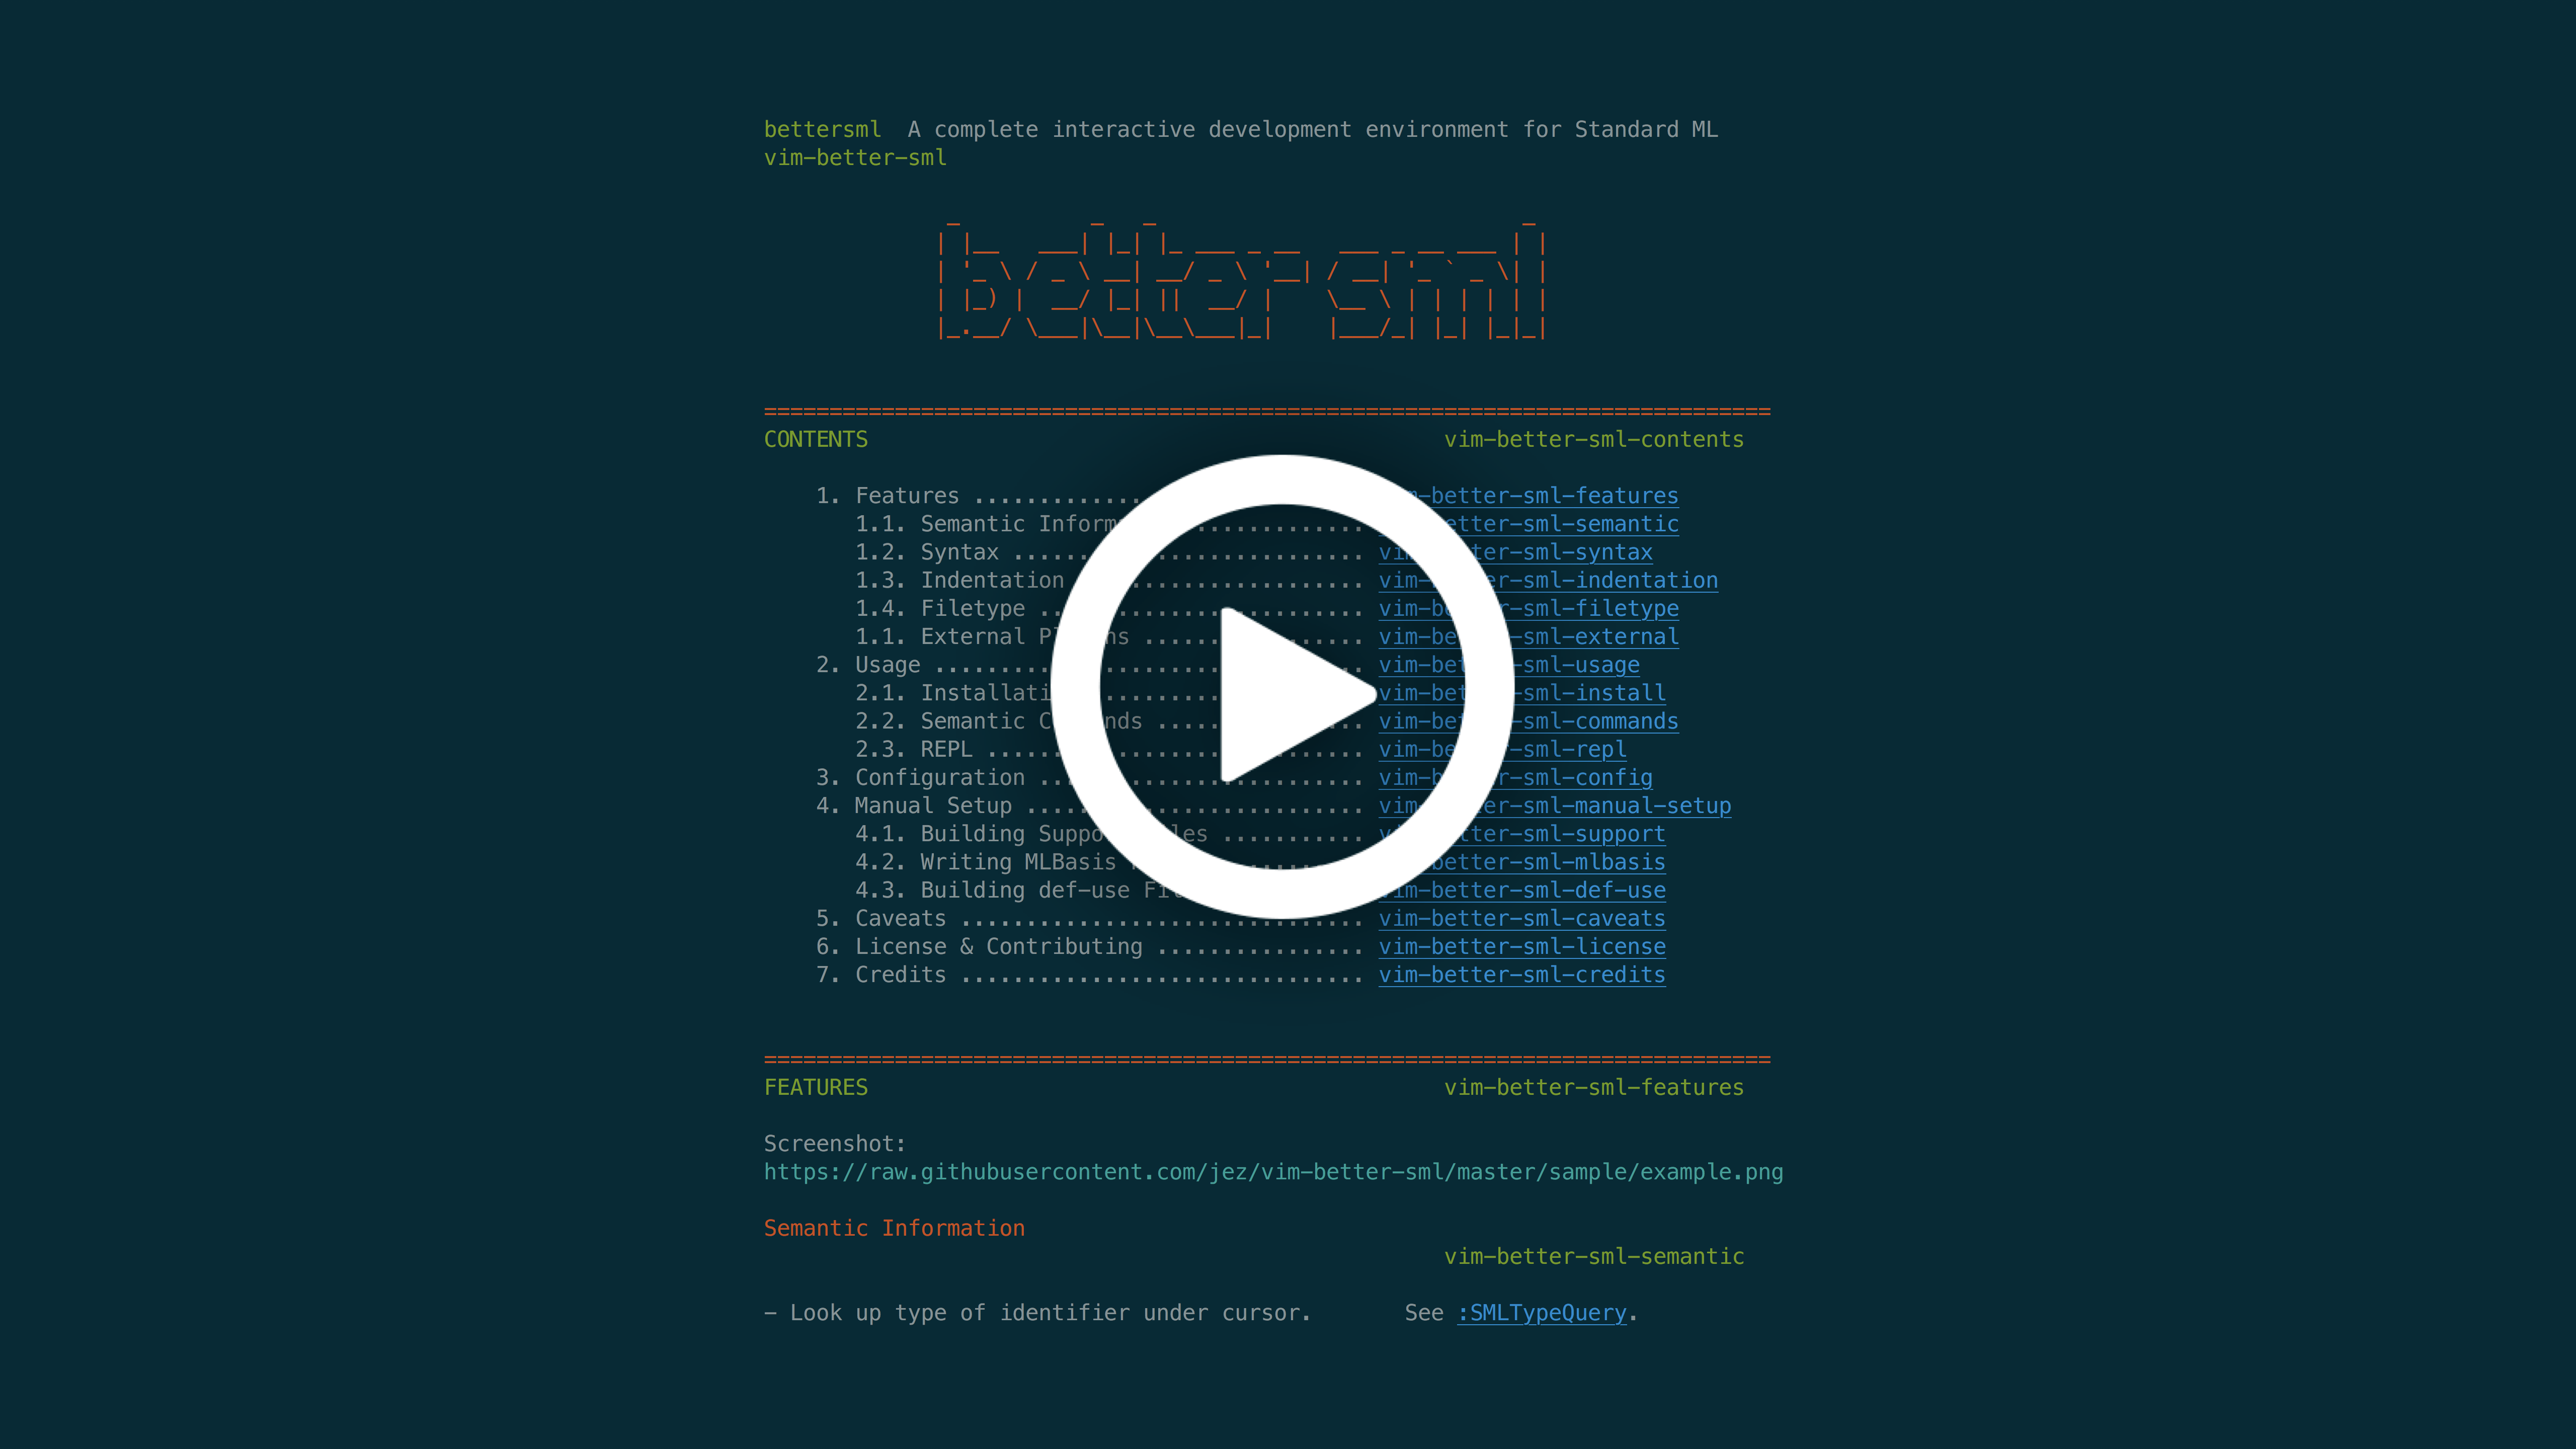
After all that, I still wasn’t satisfied with developing SML in Vim, so I wrote a plugin to make it even better: vim-better-sml. Here’s a quick rundown of its features:
- It supports for embedding a REPL directly inside Vim.
- It supports asking for the type of a variable under the cursor.
- It supports jump to definition, even into the Standard Basis Library.
*.sigfiles are properly detected as SML signature files.- Many small annoyances with syntax highlighting and indentation are fixed.
For more information, including how to install it, check out the homepage: vim-better-sml. For the most part, the plugin itself will guide you through the installation, declaring any dependencies that might be missing.
I recorded a screencast of all those features above in action, which you might want to check out:
General Vim Settings
As a quick addendum, one common complaint people have when editing SML is that it forces the line to wrap if it extends past 80 characters. Some people don’t like that, and others don’t like that it doesn’t do it frequently enough (namely, it only wraps the line if your cursor extends past 80 characters, not the end of the line).
If you don’t want Vim to do any of this wrapping, run this:
If you’d like this change to persist between Vim sessions, add it to
~/.vim/after/ftplugin/sml.vim. These folders and file
likely don’t exist yet; you’ll have to create them. The
after folder in Vim is used to override settings loaded
from plugins.
Alternatively, if you’d like a little better idea when Vim’s going to hard wrap your line, you can add one of these lines to your vimrc:
" Always draw the line at 80 characters
set colorcolumn=80

" Draw the line at whatever the current value of textwidth is
set colorcolumn+=0That way, it’s easier to see when a line is getting long.
TL;DR
We covered a lot, so here’s a quick recap:
- Install SML locally. It’s super easy to do on macOS and Linux (use your package manager), and means you don’t have to have a Wi-Fi connection to develop SML.
- Invest time into learning Vim. Here’s a reference: Vim as an IDE.
- Install ALE. It tells you what lines your errors are on.
- Install vim-better-sml. It includes a whole host of added power features.
And as always, you can see even more Vim settings in my dotfiles repo on GitHub.